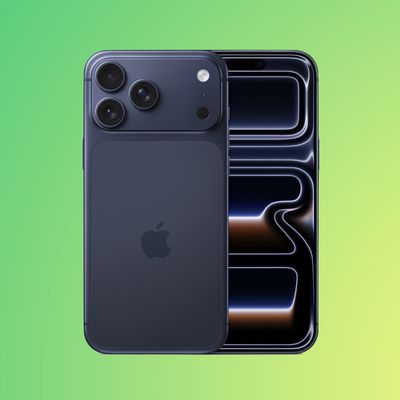
On the iPhone 17 series and iPhone Air, the new 18-megapixel Center Stage front camera now uses a square sensor, allowing you to take horizontal or vertical photos and videos without changing the orientation that you are holding your iPhone.

Because the sensor itself is square, your iPhone no longer locks you into one orientation. That means you can frame selfies, group shots, or video clips however you like and then instantly switch between portrait and landscape without physically rotating the device.
It's particularly useful when you want to capture moments quickly, hold the phone more comfortably, or keep the camera steady while recording. The following steps show you how it's done on iPhone 17 models and iPhone Air.
How to Rotate iPhone 17 Center Stage Camera
- Open the Camera app on your iPhone.
- Tap the circular arrows icon at the bottom right to switch to the selfie camera.
- Tap Video or Photo at the bottom.
- Tap the orientation rotation icon inside the viewfinder to switch between portrait and landscape mode.
- Tap the zoom icon (two arrows) inside the viewfinder to zoom in or out as desired.
- Line up your shot and hit the shutter button to take a photo or start recording video.

That's all there is to it. Note that manually zooming will disable Center Stage until you exit the Camera app and relaunch it. For more on how to control the new Center Stage features, including how to disable auto-rotate, check out this dedicated how-to.


