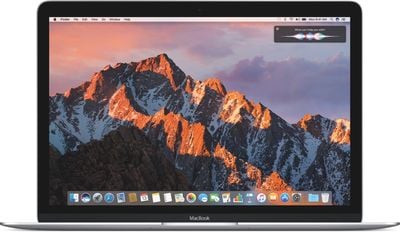
macOS Sierra is Apple's latest desktop operating system, which succeeds OS X El Capitan and adopts a new name to bring it in line with iOS, watchOS, and tvOS. The OS will come pre-installed on all new Macs once current stock is depleted and is a free download for existing Mac owners.
The main new feature in macOS Sierra is deep Siri integration, bringing Apple's personal assistant to the Mac for the first time. It also adds new features to Photos and Messages, and includes Continuity smarts like Universal Clipboard and an Auto Unlock option for Apple Watch owners.
This tutorial explains how to download macOS Sierra and perform a clean install, which offers several benefits over the automatic upgrade process included in the installation package.
Benefits of a Clean Install
A clean install can remove annoying quirks and strange behaviors that your Mac may have inherited over time due to driver upgrades, wonky apps, and messy installation procedures. Performing a fresh install can also reclaim lost disk space caused by junk files left by third-party apps, and can generally make your Mac feel a lot snappier, enabling you to relive that feeling of booting it up for the first time.
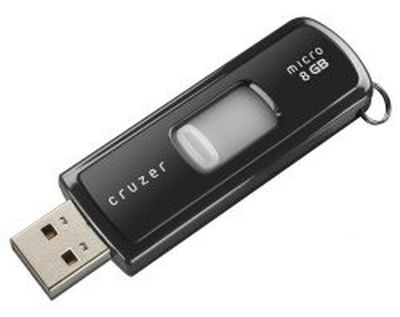 To complete the clean install procedure described below, you'll need an 8GB or larger USB thumb drive and an hour or two to spare.
You should also perform a full backup of your Mac beforehand using Time Machine. That way you can restore your system from the Recovery partition if something goes wrong. Alternatively, save a bootable mirror image of your system to an external drive using a clone utility like SuperDuper! ($27.95) or Carbon Copy Cloner ($39.99).
Compatibility Check
Before you do anything, check that your Mac is compatible with Apple's new operating system. macOS Sierra supports the following:
- iMac (Late 2009 or newer)
- MacBook Air (2010 or newer)
- MacBook (Late 2009 or newer)
- Mac mini (2010 or newer)
- MacBook Pro (2010 or newer)
- Mac Pro (2010 or newer)
Another way of checking if your Mac is compatible is to open the Apple menu in the upper left corner of your Mac's screen and selecting About This Mac. Look just below the OS X version number in the Overview tab – if the Mac model name is the same or a later model year than the one shown in the compatibility list above, your Mac is compatible with Sierra.
Pre-Install Notes
If you want total control of what data gets transferred to the new OS, you can sidestep the Migration Assistant and manually copy any important files and folders on your existing system to an external drive instead. It's also worth taking a screenshot of your desktop, to serve as a record of how you like things set up.
Some users may find it useful to make a note of the contents of their Applications folder for later reference. A screenshot may suffice (Command-Shift-4, then Space to capture the Finder window), but if not, the following steps describe a simple way to create a list of apps.
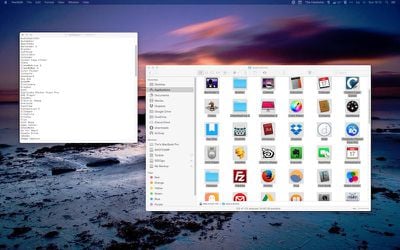
- Open the Applications folder and press Command+A to select all apps in the Finder window, then press Command+C.
- Now open up TextEdit, create a new document, select Format -> Make Plain Text from the menu bar, and press Command+V to paste a list of app names into the document.
- If necessary, add details of download locations for any non-Mac App Store apps you use, append any serial numbers you might need, and save the text document to an external drive.
Be sure to allow any cloud services you use to complete synchronization before continuing. It's also worth screen-grabbing or noting down any custom preferences, settings, Wi-Fi passwords, and app-specific profiles you use.
Lastly, de-authorize any services on your Mac, including your iTunes account (iTunes menu > Store > Deauthorize this Computer), since these are usually limited to a set number of systems.
Create a Bootable Installer
Download the macOS Sierra installation package from the Mac App Store. Once it has downloaded, follow these steps to create a USB bootable installer.
- Open Disk Utility (found in the Applications/Utilities folder), select the thumb drive in the sidebar and click the "Erase" button.
- Name the USB drive "Untitled" if it isn't already, choose the Format "OS X Extended (Journaled)", and click "Erase". Once your thumb drive is formatted and the macOS installation package has finished downloading, open up Terminal (found in Applications/Utilities).
- Now, ensure the USB drive is the only disk named "Untitled" connected to your Mac, and then paste the following command into the Terminal window, and press Enter: sudo /Applications/Install\ macOS\ Sierra.app/Contents/Resources/createinstallmedia --volume /Volumes/Untitled --applicationpath /Applications/Install\ macOS\ Sierra.app --nointeraction
- You should be prompted for your administrator password. Enter it, and the command will create a bootable Sierra installer on the USB drive. The process will take a few minutes to complete, so leave it running.
Restart and Install
Once the USB installer has been created, restart your Mac and hold down the Option key as soon as you hear the reboot tone. Then follow these steps:
- Use the mouse pointer or the arrow keys on your keyboard to select the disk called "Install macOS Sierra" in the drive list that appears on the screen.
- Once the USB drive has booted, select "Disk Utility" from the Utilities window, choose your Mac's startup drive from the list, and click "Erase".
- When your Mac's startup disk is formatted, return to the Utilities window and select "Install macOS", choose your freshly erased startup drive when asked where to install the OS, and follow the onscreen prompts to complete the installation.
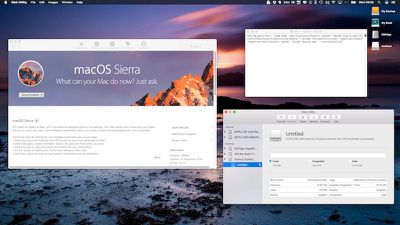
Post-Install Steps
Once the clean installation of macOS Sierra is up and running on your Mac, you can either restore your data from a Time Machine backup using Migration Assistant (found in Applications/Utilities), or begin restoring your apps, files, and settings manually to get your Mac set up just the way you like it.


Top Rated Comments
No Thanks Apple.
No, it is not. I have been advocating against it. It is a waste of time for most users and provides no absolute benefits. I only recommend it if system configurations were changed (e.g. in /private/etc or /private/var), because this is something that a reinstallation will not fix reliably (given that it is expressly meant for configuration). Under normal circumstances, the user never changes anything of this manually.
Since El Capitan, Apple claims complete ownership over /System, /bin, /sbin and /usr. This makes it very difficult to even break anything beyond repair. Normally, a reinstallation is enough to fix such problems, because it is effectively an overwrite anyway.
That being said, how is the USB method "long and complicated" compared to doing two installations of the operating system which you do via the recovery partition method?
First thing I disabled.