
The Messages app in macOS offers users a convenient way of communicating with friends, family, and colleagues across a variety of Apple devices.
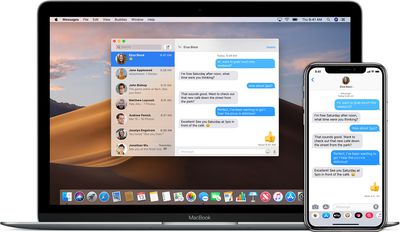
With Messages for Mac, you can send unlimited messages to any Mac, iPhone, iPad, or iPod touch that uses iMessage, Apple's secure-messaging service. If you have an iPhone, you can also send and receive SMS texts.
The following steps show you how to get Messages set up on your Mac, while the second set of steps explain how to set up Messages in iCloud, which keeps your messages in sync between your Mac and your iOS devices.
How to Set up Messages on Your Mac
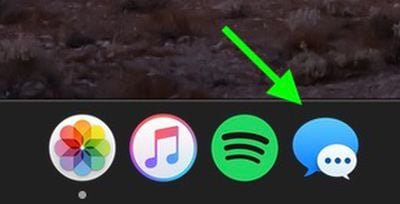
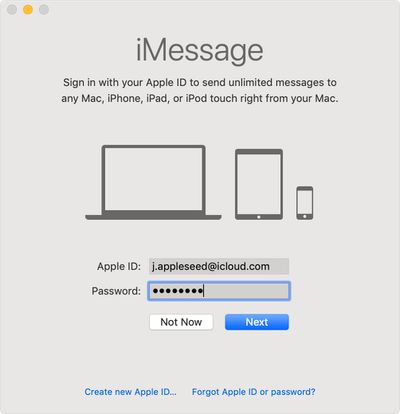
- Launch the Messages app on your Mac – you can find it in the Applications folder. It can also be found in the Dock on new Macs.

- You'll be asked to sign in. Enter the same Apple ID that you use with Messages on your iPhone and other Apple devices.
- If you have two-step or two-factor authentication turned on for your Apple ID, enter your verification code.
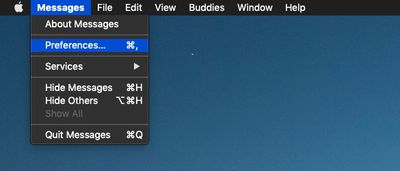
- Select Messages -> Preferences... in the menu bar.
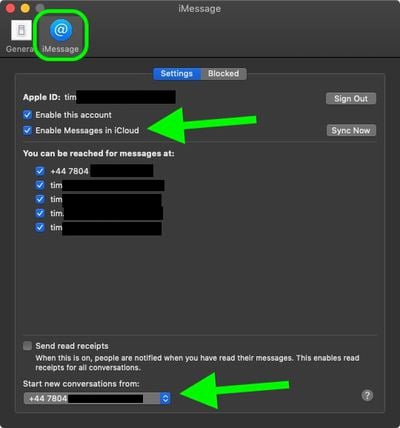
- Select the iMessage tab.
- Tick the box next to Enable Messages in iCloud (this will keeps your messages in sync between your Mac and your iOS devices).
- Tick the phone number and email addresses at which you would like to be reached.
- Using the dropdown under Start new conversations from: choose which phone number or email address you want people to see when you start a new conversation.
- Tick the red traffic light in the top-left corner of the window to close Messages preferences.
If you enabled Messages in iCloud, you'll also want to make sure it's enabled on your iPhone or iPad so that your messages stay in sync across your devices. Here's how.
How to Set up Messages in iCloud in iOS
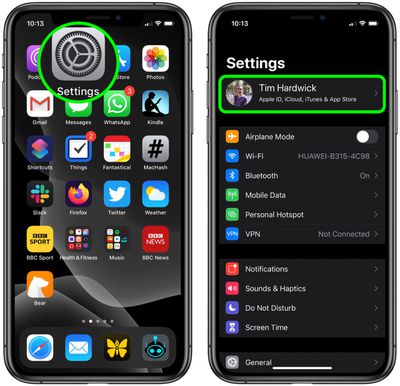
- Launch the Settings app on your iPhone or iPad.
- Tap your Apple ID banner at the top.
- Tap iCloud.
- Make sure the switch next to Messages is toggled to the green ON position.
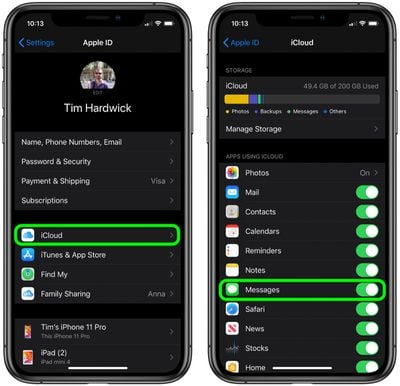
Having Messages in iCloud enabled doesn't just keep your messages in sync – it also means you'll be able to download your message history whenever you set up a brand new device.