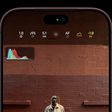

Apple's latest iPhone 18 Pro models support something called Apple Reference Image – a way to verify that a photo was taken with an iPhone and hasn't been edited. The method can be used to prove that something actually happened and wasn't AI-generated. Apple likens the feature to a digital film negative.
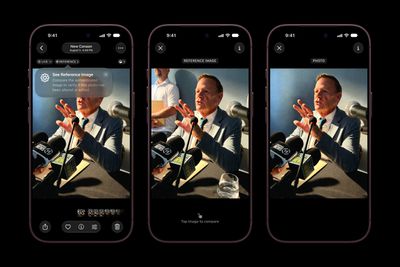
You can use Apple Reference Image to save and share additional data to verify the authenticity of a photo, or to take a photo and also capture the original data from the sensor in the Main camera.
How it Works
Apple Reference Image boots the camera sensor into a specialized reference mode, and the mode instructs the sensor to cryptographically sign pixel data immediately after capture. The sensor firmware is prevented from modifying the data. Other authentication systems don't sign images until the end of the software processing pipeline, which Apple says leaves images vulnerable to tampering attacks.
The resulting "secure digital negative" is protected from software compromise alongside a standard editable photo. The negative is stored on-device and includes pixel data, sensor metadata, and cryptographic timestamps with lower and upper bounds. When a user decides to "develop" the negative for verification, it is sent unprocessed to Private Cloud Compute. Private Cloud Compute runs the steps needed to render the image in a secure, private, and verifiable environment.
Enabling Apple Reference Image on iPhone 18 Pro
You can enable Apple Reference in the Settings app, and you only have to do it once.
- Open the Settings app on your iPhone 18 Pro.
- Tap Camera.
- Tap Reference Image.
- Tap Add Reference Mode, then follow the on-screen instructions.
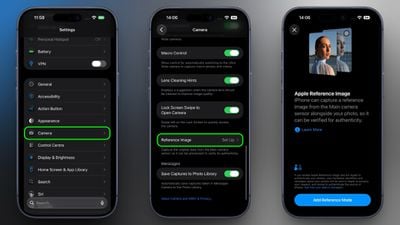
After you have added Reference Mode, the Reference Image settings screen will reveal two new options. When sharing photos, toggling on Share Reference Image ensures that the reference image data is always included. Toggling on Transfer Reference Image automatically includes the reference image data when you transfer photos to a Mac or PC.
How to Take a Photo With a Reference Image
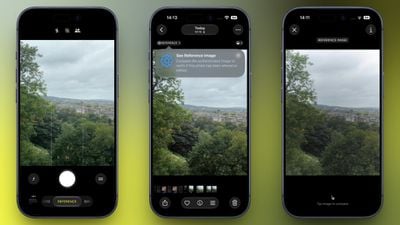
- Open the Camera app on your iPhone.
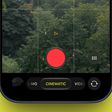
- Swipe along the carousel at the bottom of the screen and select Reference.
- Tap the shutter button to take a photo.
Note that a reference image contains the full image frame regardless of the zoom level. Apple says it uses around 10MB to 35MB of storage, depending on the capture settings.
View a Reference Image in Photos
When you capture a reference image, your iPhone will also capture the original, signed data from the sensor in the Main camera, allowing you to develop and view a reference image in Photos.
- Open the Photos app on your iPhone.
- Tap Reference in the upper left corner of the screen.
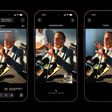
- View the reference image, and tap to compare it and verify if the photo has been edited or altered.
Apple says the feature resists data injection attacks, compromised operating systems, hardware attacks, and cryptographic attacks.
Apple believes Apple Reference Image is the only image provenance system with quantum-secure defenses. In case the system is breached, there is also a revocation option. Private Cloud Compute calculates a confidence score for each image, and Apple can revoke individual photos or an entire sensor if fraud is detected.
To safeguard photographers, Apple Reference Image avoids using an explicit, public credential for photographers, and it prevents public association between different photos taken by the same sensor. The confidentiality of the image is protected, including from Apple.
More information on Apple Reference Image can be found in Apple's blog post.